Prepare the source Windows XP system:
- In iTunes, Sync your iPod / iPhone / iPad as you normally would.
- Go to File > Library > Organize Library > Check to organize library and to consolidate files.
- Deauthorize your computer from iTunes by going to Store > Deauthorize This Computer
- Quit iTunes
Prepare the destination Windows 7 system:
- Install iTunes
- In Explorer, go to Tools > Folder Options > View > Show hidden files, folders, and drives > press OK
- Quit iTunes in case you opened it
Transfer files from the source Windows XP system to the destination Windows 7 system:
- Copy “
C:\Documents and Settings\username\My Documents\My Music\iTunes” to “C:\Users\username\Music\iTunes“ - Copy “
C:\Documents and Settings\username\Application Data\Apple Computer\iTunes” to “C:\Users\username\AppData\Roaming\Apple Computer\iTunes“ - Copy “
C:\Documents and Settings\username\Local Settings\Application Data\Apple Computer\iTunes” to “C:\Users\username\AppData\Local\Apple Computer\iTunes“
Note: This does not transfer over device backups.
On the destination Windows 7 system:
- Open iTunes and verify all of your data is there
- Authorize your computer to iTunes by going to Store > Authorize This Computer
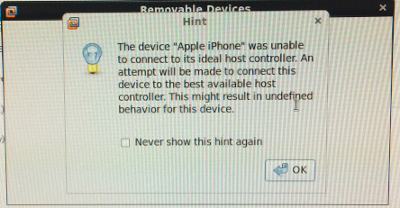
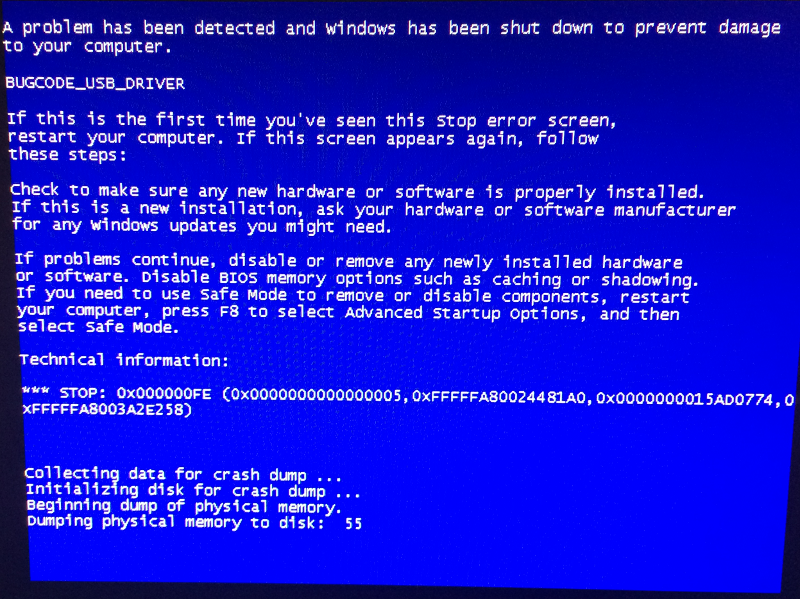
- Sync your iPod / iPhone / iPad as you normally would.
My System Configuration
- Windows XP SP3
- Windows 7 Professional SP1
- iTunes 11.1.3.8