After installing iTunes on a Windows 7 guest, I would then plug my iPhone into a USB port on my CentOS 6 host. Inside of VMware Workstation 10, I selected the appropriate VM, then from the menu bar I selected VM > Removable Devices > Apple iPhone > Connect (Disconnect from host). This causes VMware to attach this USB device to the Windows guest instead of the CentOS host.
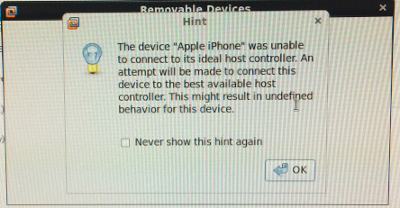
After doing this, I get the following message from VMware: “The Device “Apple iPhone” was not able to connect to its ideal host controller. An attempt will be made to connect this device to the best available host controller. This might result in undefined behavior for this device.”
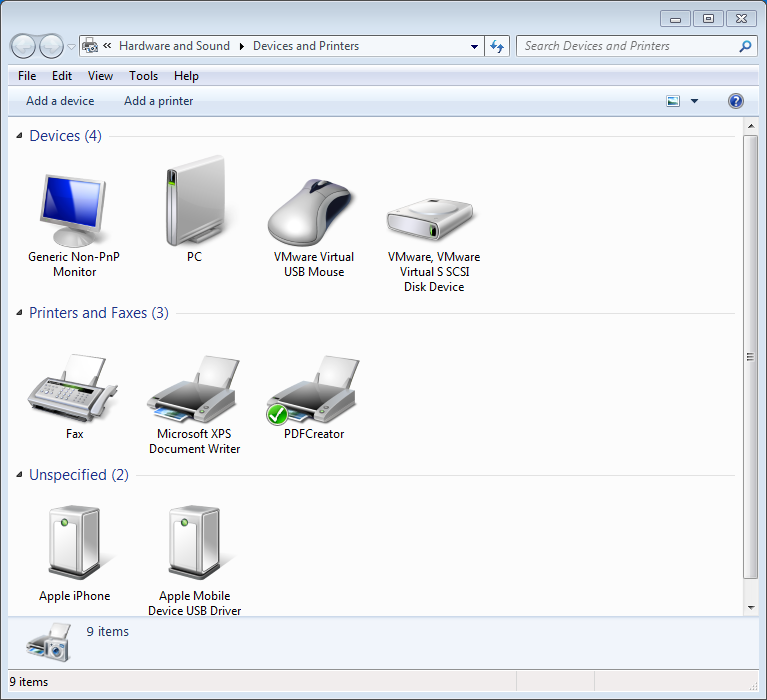
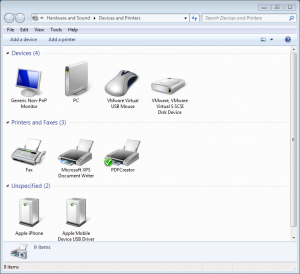
Go to Start > Devices and Printers. You should see two new devices under the Unspecified section called “Apple Mobile Device USB Driver” and “Apple iPhone”.
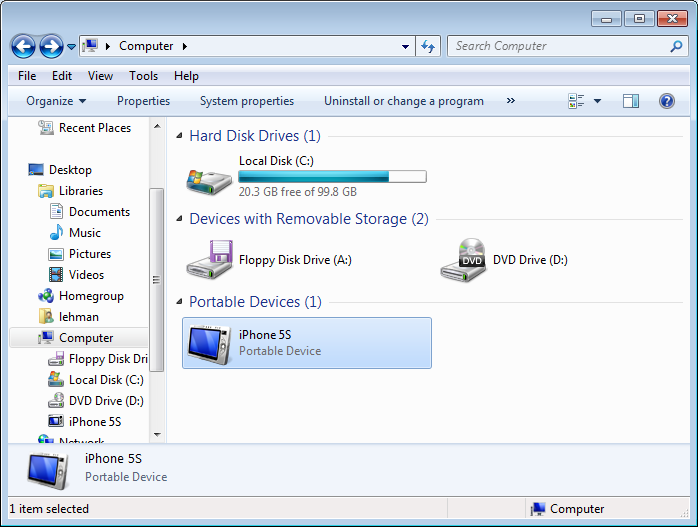
Also, if you open up Explorer and go to Computer, you should see your iPhone listed as a Portable Device.

After browsing files on the iPhone within Explorer (using the iPhone as an internal storage device), I get a Windows blue screen including the message “BUGCODE_USB_DRIVER”. The guest machine crashes while the host remains stable.

Alternatively, if I opened iTunes while the iPhone is attached to the Windows guest, iTunes would display the error “iTunes could not connect to the iPhone because an invalid response was received from the device.”

Ultimately, I resolved the majority of my issues by powering off the Windows guest VM, going to VM > Settings > USB Controller >
Change USB Compatibility from USB 1.1 to USB 2.0. Save and restart the VM.
Every once in a while iTunes does not recognize the iPhone. Usually this can be resolved, by removing and re-adding the iPhone or closing and re-opening iTunes. Sometimes by adding the iPhone prior to starting iTunes.
In order for Sync over Wi-Fi to work, the guest Windows VM running iTunes should to have an IP on the same physical network as your iPhone. Power off the guest VM, go to VM > Settings > Network Adapter >
Select “Bridged” instead of “NAT”.
My System Configuration
- VMware Workstation 10.1
- Host: CentOS 6.5 x86 64-bit
- Guest: Windows 7 Professional SP1
- iTunes 11.1.3.8
References
Installing VMware Tools on a Windows 7 Guest OS in VMware Workstation 10.1 running on a CentOS 6 host always resulted in the host OS crashing.
This appears to be due to a combination of VMware Workstation 10.1 running on CentOS 6 .5 with kernel 2.6.32-431.1.2.0.1.el6.x86_64 #1 SMP x86_64 GNU/Linux. I see these two interesting items on the screen output followed by a call trace.
BUG: scheduling while atomic: vmware/6035/0x000002000
Pid: 6035, comm: vmware Tainted: G D --------- 2.6.32-431.1.2.0.1.el6.x86_64 #1

To resolve this issue:
# service vmware-workstation-server stop
# service vmware stop
# mv -v /usr/lib/vmware/modules/binary /usr/lib/vmware/modules/binary~orig
# rm /lib/modules/$(uname -r)/misc/v*.ko
# depmod -a
# yum install make gcc keneral-headers-$(uname -r) kernel-devel
# /usr/bin/vmware-modconfig --console --install-all
# service vmware start
# service vmware-workstation-server start
I could now attempt to install VMware Tools on a Windows 7 Guest OS without the host crashing. However, I now ran into another complication. The VMware Tools install would hang around the point of installing the ThinPrint module. Basically, the VMware Tools install hangs due to cruft left over from previous install attempts. Follow VMware KB Article 1001354 to remove cruft left over from previous VMware Tools installs. Then try reinstalling again.
You do not need to repeat this procedure since the offending modules are being removed in the steps above. During subsequent kernel upgrades, modules will be recompiled automatically.
VMware claims that “this issue should be fixed with the next update (10.0.2), and we will publish a kb article.”
UPDATE: The VMware community appears to agree that this issue is resolved in the Workstation 10.0.2 release.
My System Configuration
- VMware Workstation 10.1
- Host: CentOS 6.5 x86 64-bit
- Guest: Windows 7 Professional SP1
References
By default, PuTTY does not retain very many lines of scrollback (output) in the terminal window. In order to increase this, go to:
- Category > Window > Control the scrollback in the window
- Increase the value for the “Lines of scrollback”
The largest allowable value is 1410065407.
After performing a base install of CentOS 6 using the minimal install CD, you may find that a lot of commands that you would expect are not there. Do the following to install additional, basic Linux packages that are common to most Linux distributions:
# yum groupinstall "Base"
Run the following in order to see detailed information including a description and which packages it will install.
# yum groupinfo "Base"
Group: Base
 Description: The basic installation of CentOS Linux.
 Mandatory Packages:
   alsa-utils
   at
   authconfig
   bc
   bind-utils
   centos-indexhtml
   crontabs
   cyrus-sasl-plain
   dbus
   ed
   file
   logrotate
   lsof
   man
   ntsysv
   parted
   pciutils
   psacct
   quota
   setserial
   tmpwatch
   traceroute
 Default Packages:
   abrt-addon-ccpp
   abrt-addon-kerneloops
   abrt-addon-python
   abrt-cli
   acpid
   b43-fwcutter
   biosdevname
   blktrace
   bridge-utils
   bzip2
   cpuspeed
   cryptsetup-luks
   dmraid
   dosfstools
   eject
   ethtool
   fprintd-pam
   gnupg2
   hunspell
   hunspell-en
   irqbalance
   kexec-tools
   ledmon
   libaio
   lvm2
   man-pages
   man-pages-overrides
   mdadm
   microcode_ctl
   mlocate
   mtr
   nano
   ntp
   ntpdate
   openssh-clients
   pam_passwdqc
   pcmciautils
   pinfo
   plymouth
   pm-utils
   prelink
   rdate
   readahead
   rfkill
   rng-tools
   rsync
   scl-utils
   setuptool
   smartmontools
   sos
   strace
   sysstat
   system-config-firewall-tui
   system-config-network-tui
   systemtap-runtime
   tcpdump
   tcsh
   time
   unzip
   usbutils
   vconfig
   vim-enhanced
   virt-what
   wget
   which
   wireless-tools
   words
   xz
   yum-plugin-security
   yum-utils
   zip
 Optional Packages:
   PyPAM
   audispd-plugins
   brltty
   cpupowerutils
   device-mapper-persistent-data
   dos2unix
   dumpet
   ecryptfs-utils
   edac-utils
   genisoimage
   gpm
   kabi-yum-plugins
   kernel-doc
   linuxptp
   logwatch
   mkbootdisk
   mtools
   ncurses-term
   nss_db
   oddjob
   pax
   python-dmidecode
   python-volume_key
   rsyslog-gnutls
   rsyslog-gssapi
   rsyslog-relp
   sgpio
   sox
   squashfs-tools
   star
   tboot
   tunctl
   udftools
   unix2dos
   uuidd
   volume_key
   wodim
   x86info
   yum-plugin-aliases
   yum-plugin-changelog
   yum-plugin-downloadonly
   yum-plugin-tmprepo
   yum-plugin-verify
   yum-plugin-versionlock
   yum-presto
   zsh
There are additional package groups that may be useful in order to easily setup a particular service. To see a list of all the installed and available package groups:
# yum grouplist
My System Configuration
References
After performing a base install of CentOS 6 using the minimal install CD, do the following to install a basic GNOME desktop environment:
# yum groupinstall "Desktop" "Desktop Platform" "X Window System" "Fonts"
Run the following on a particular package group in order to see detailed information including a description and which packages it will install.
# yum groupinfo groupname
There are additional package groups if you want something more than a basic desktop environment. For example,
# yum -y groupinstall "General Purpose Desktop"
To see a list of all the installed and available package groups:
# yum grouplist
Once installed, you can start GNOME by running:
$ startx
or
$ /sbin/telinit 5
To have CentOS boot into runlevel 5 “X11” instead of runlevel 3 “Full multiuser mode”, modify the /etc/inittab file to change start up level from
id:3:initdefault:
to
id:5:initdefault:
My System Configuration
References
To expand the width of the main content page when using the WordPress 3.8 Twenty Fourteen theme:
- Login to WordPress as an administrator
- Go to Appearance > Widgets
- Remove all widgets from the Content Sidebar
- Go to Appearance > Editor > style.css
- Find the section that says:
.page-content {
 margin: 0 auto;
 max-width: 474px;
}
.page-content {
 margin: 0 auto;
 max-width: 990px;
}
My System Configuration
- WordPress 3.8
- Twenty Fourteen theme 1.0
References
David Lehman's System Administration Blog